MiniMax Open Platform offers two billing options for text models: Coding Plan and Pay-As-You-Go. You can choose flexibly based on your usage requirements.
The billing model is determined by the API Key you use. Different types of keys will trigger different billing methods.
The billing model is determined by the API Key you use. Different types of keys will trigger different billing methods.
Use MiniMax-M2.1 in Claude Code (Recommended)
Install Claude Code
Refer to the Claude Code documentation for installation.Configure MiniMax API
- Edit or create the Claude Code configuration file located at
~/.claude/settings.json. In this file, add or update theenvfield as shown below.
- The
ANTHROPIC_BASE_URLshould be set based on your location: for international users, usehttps://api.minimax.io/anthropic; for users in China, usehttps://api.minimaxi.com/anthropic. - Set
<MINIMAX_API_KEY>to the API key obtained from the MiniMax Developer Platform (For users in China, visit MiniMax Developer Platform). - Note: Environment variables
ANTHROPIC_AUTH_TOKENandANTHROPIC_BASE_URLtake priority oversettings.jsonconfiguration.
- After completing the configuration, navigate to your working directory and run the
claudecommand in the terminal to start using Claude Code. After startup, select Trust This Folder to allow it to access the files in your folder as shown below:
- You can now start using Claude Code for development.
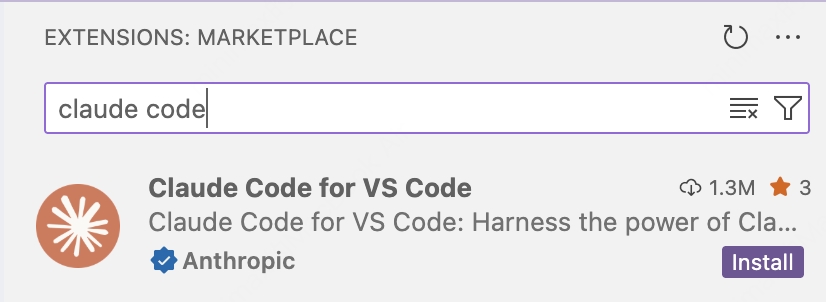
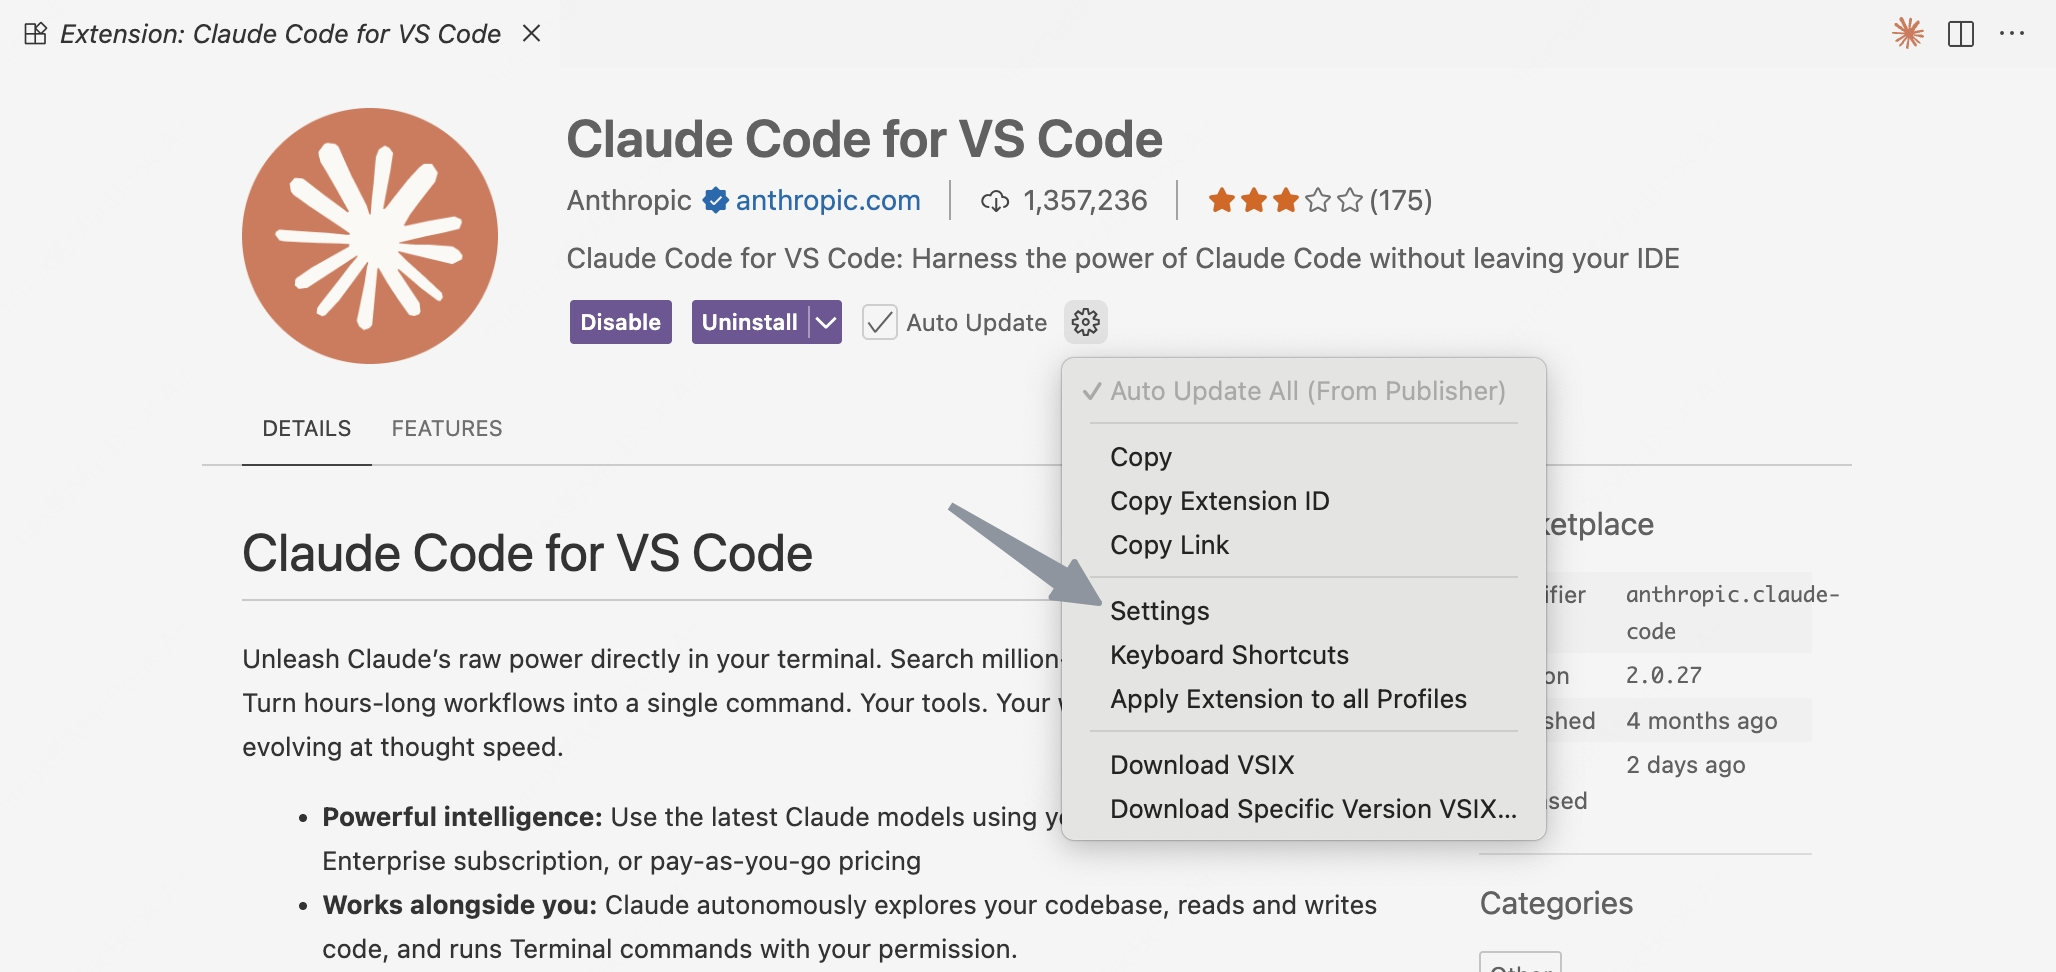
Use M2.1 in Claude Code Extension for VS Code
Configure Model
Configure the model to 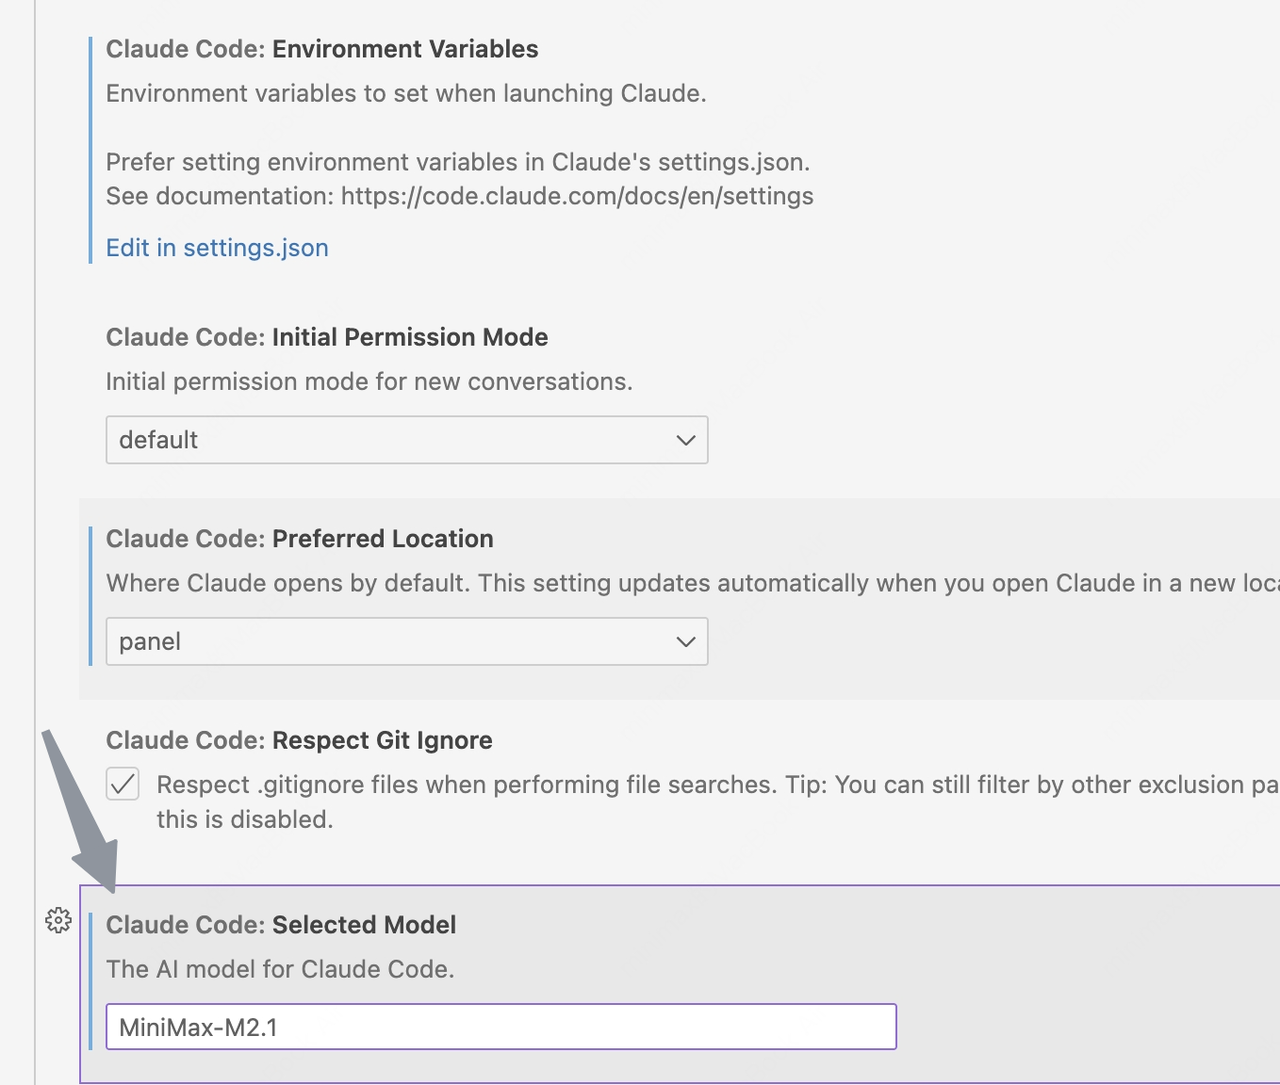 Or
Or
MiniMax-M2.1- In Settings →
Claude Code: Selected Model, enterMiniMax-M2.1
 Or
Or- Click
Edit in settings.json, modifyclaude-code.selectedModeltoMiniMax-M2.1in the configuration file.

Configure Environment Variables
- If Claude Code is already installed, please refer to the Claude Code Configuration to configure the environment variables.
- If Claude Code is not installed, click
Edit in settings.json
 Modify
 claudeCode.environmentVariables to following settings:- The
ANTHROPIC_BASE_URLvalue should be set based on your location: for international users, usehttps://api.minimax.io/anthropic; for users in China, usehttps://api.minimaxi.com/anthropic
Use MiniMax-M2.1 in Cursor
Install Cursor
- Download and install Cursor from the Cursor website.
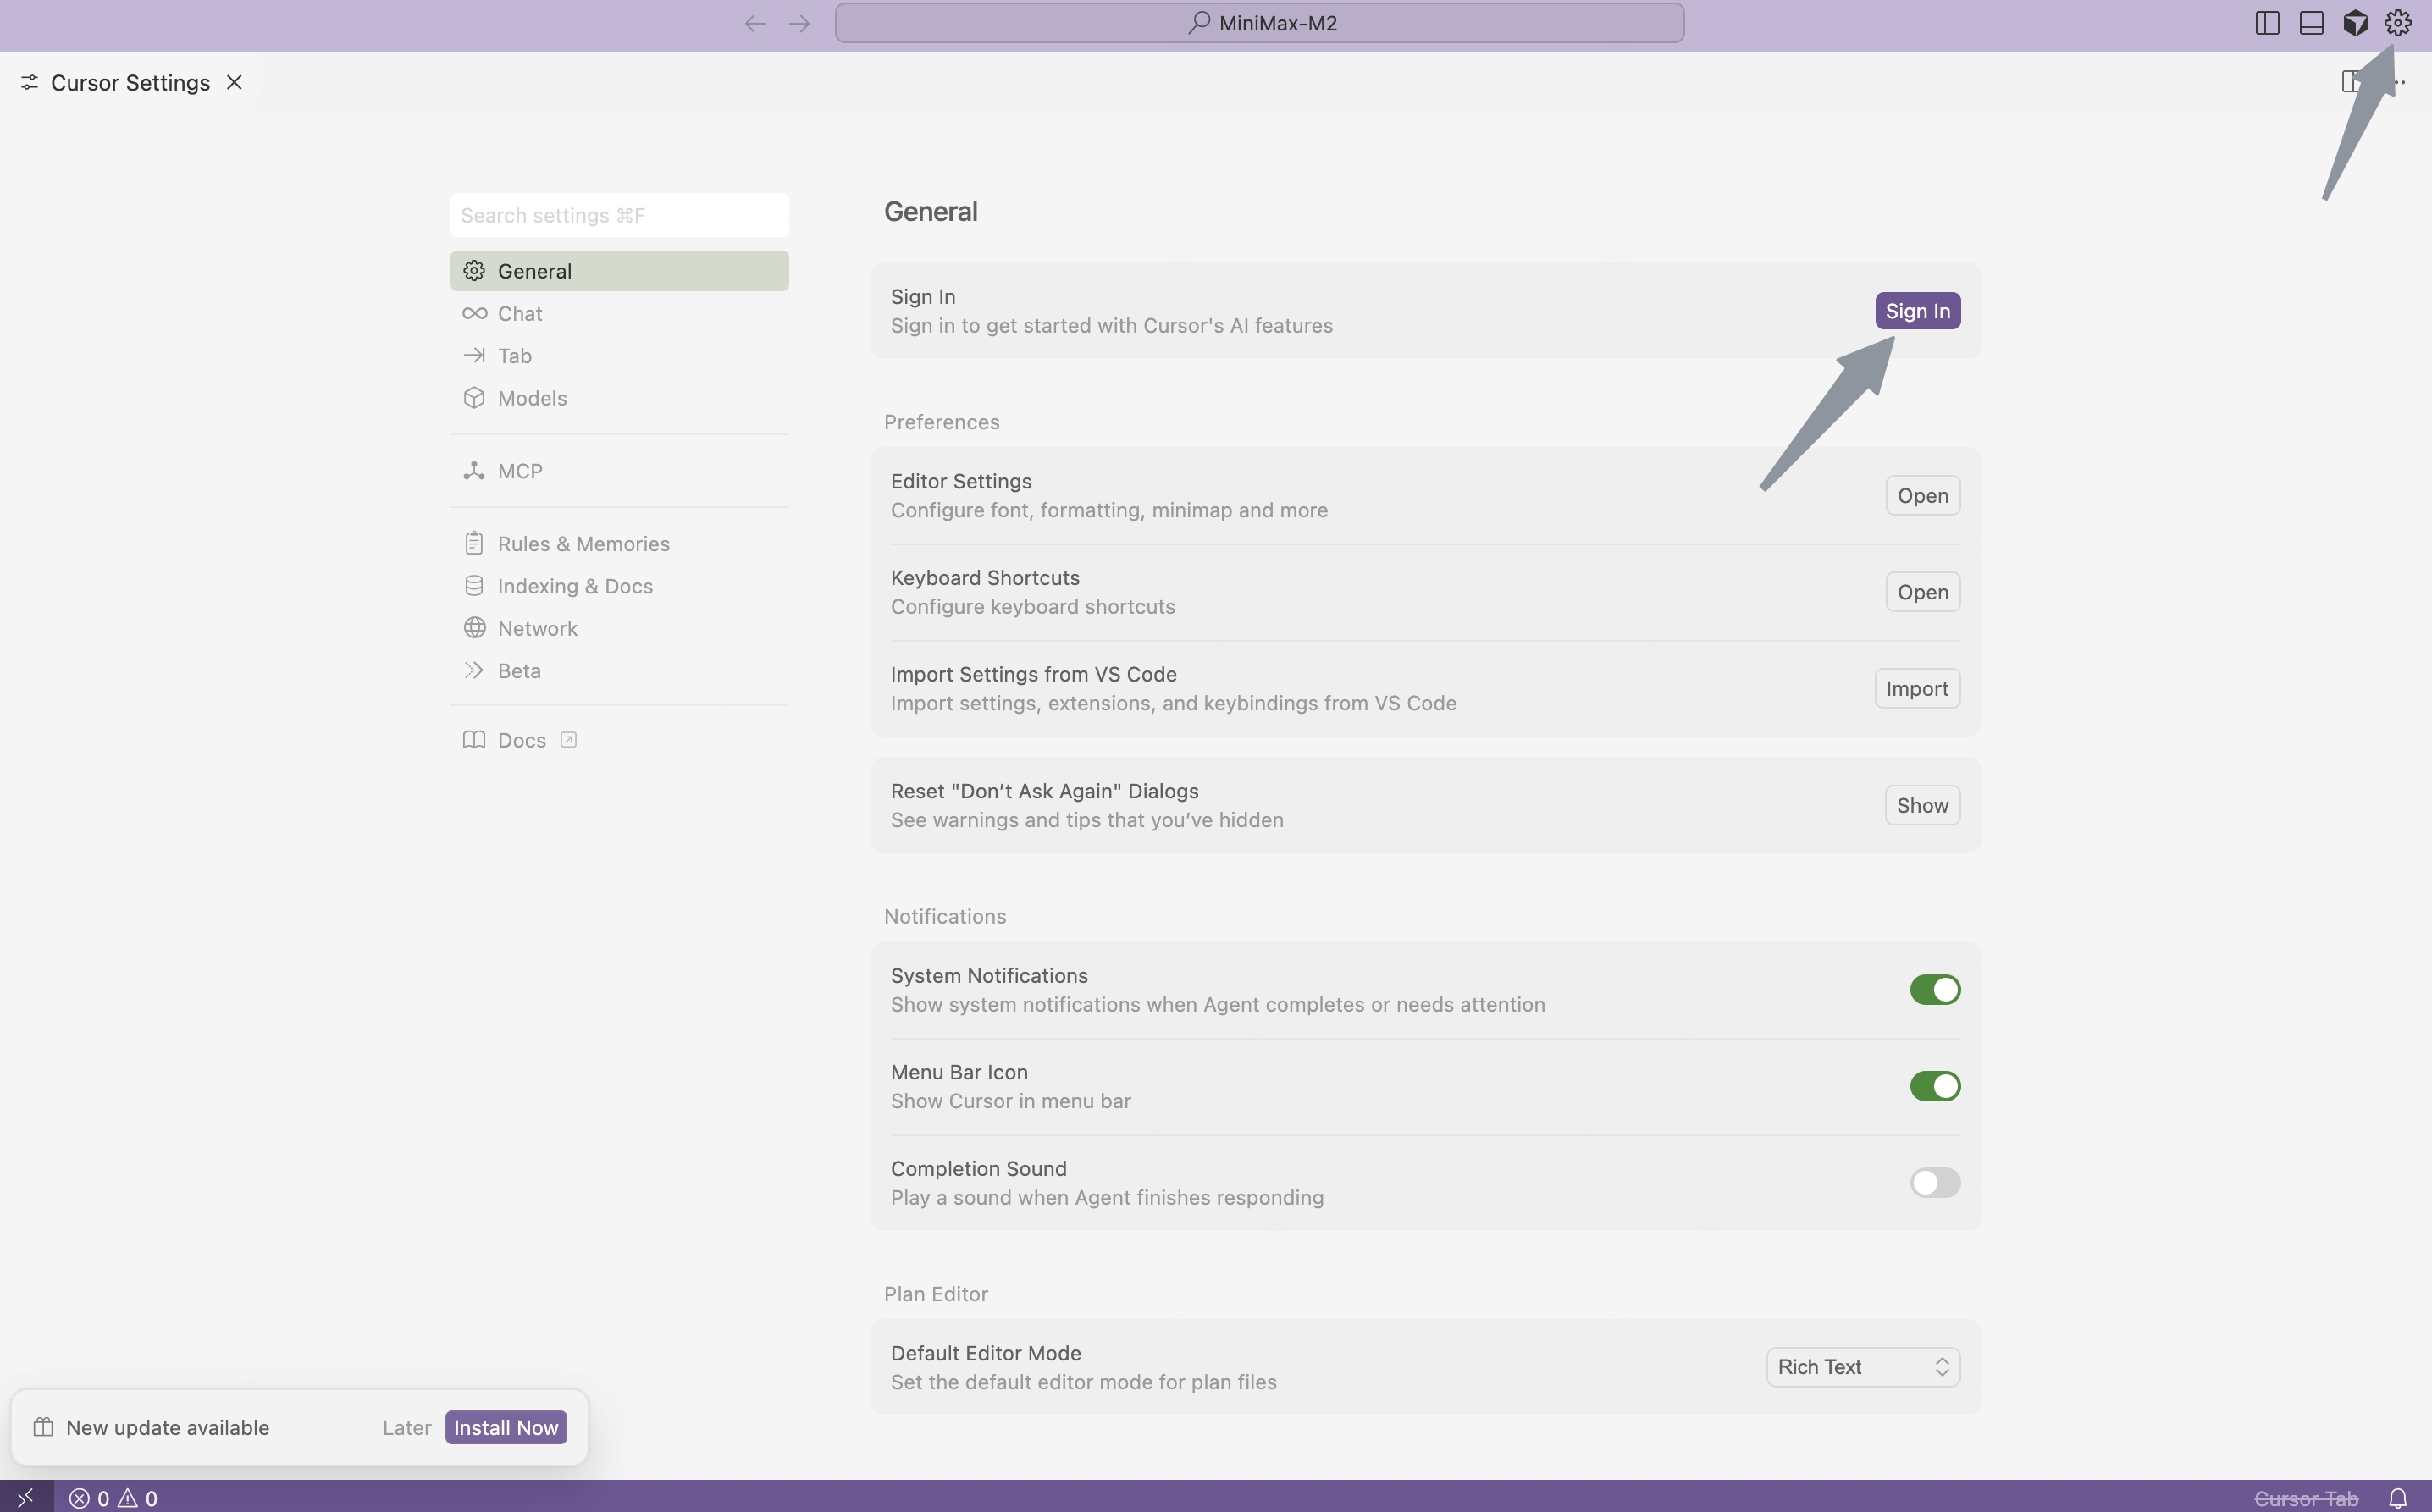
- Open Cursor, click the “Settings” button in the top-right corner to enter the settings page.
- Click the “Sign in” button to log in to your Cursor account.
Configure MiniMax API
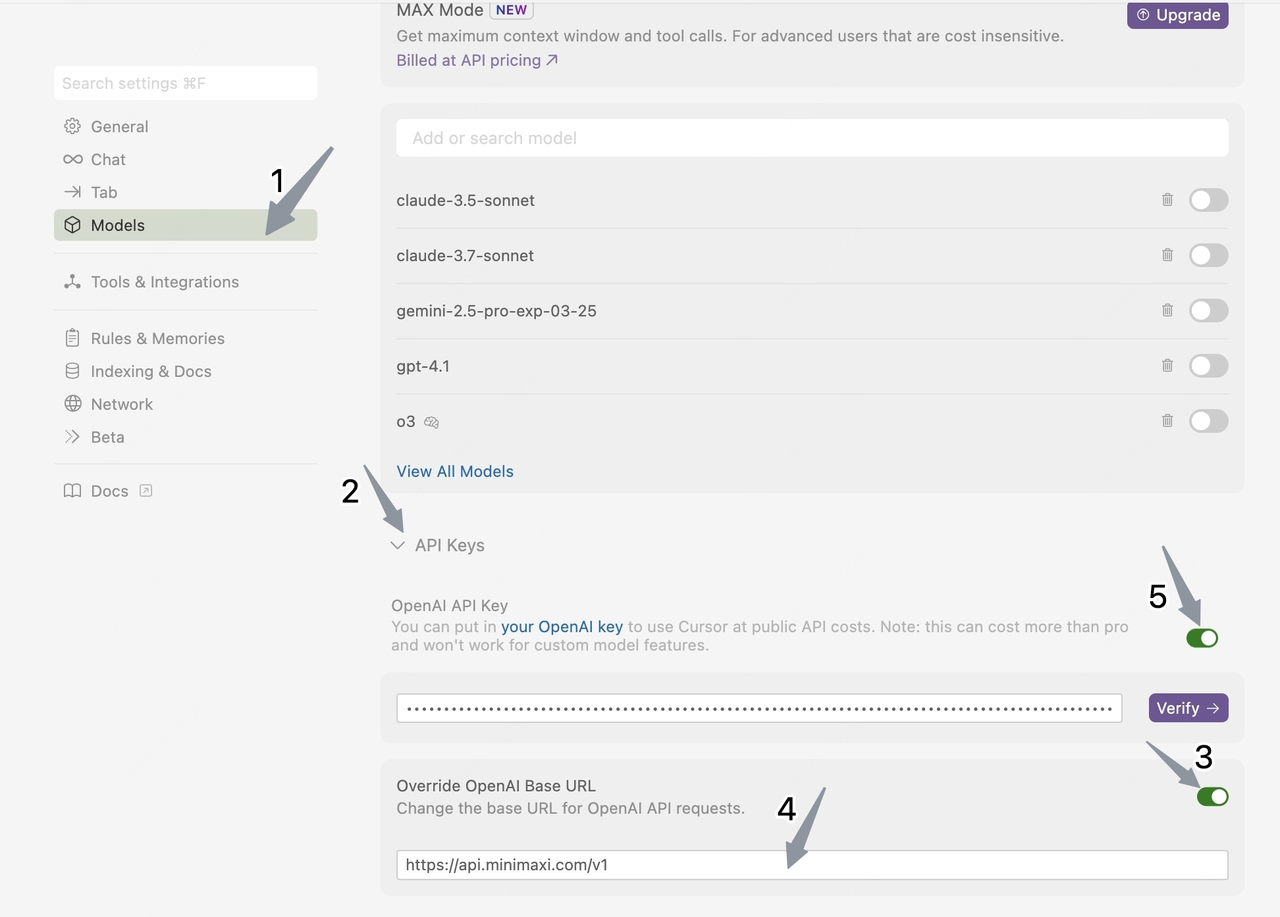
- Click “Models” in the left sidebar to open the model configuration page.
- Expand the “API Keys” section and configure the API information:
- Enable “Override OpenAI Base URL”;
- Enter the MiniMax base URL (for international users, use
https://api.minimax.io/v1; for users in China, usehttps://api.minimaxi.com/v1)
- Paste the API key obtained from the MiniMax Developer Platform (For users in China, visit MiniMax Developer Platform) into the OpenAI API Key field.
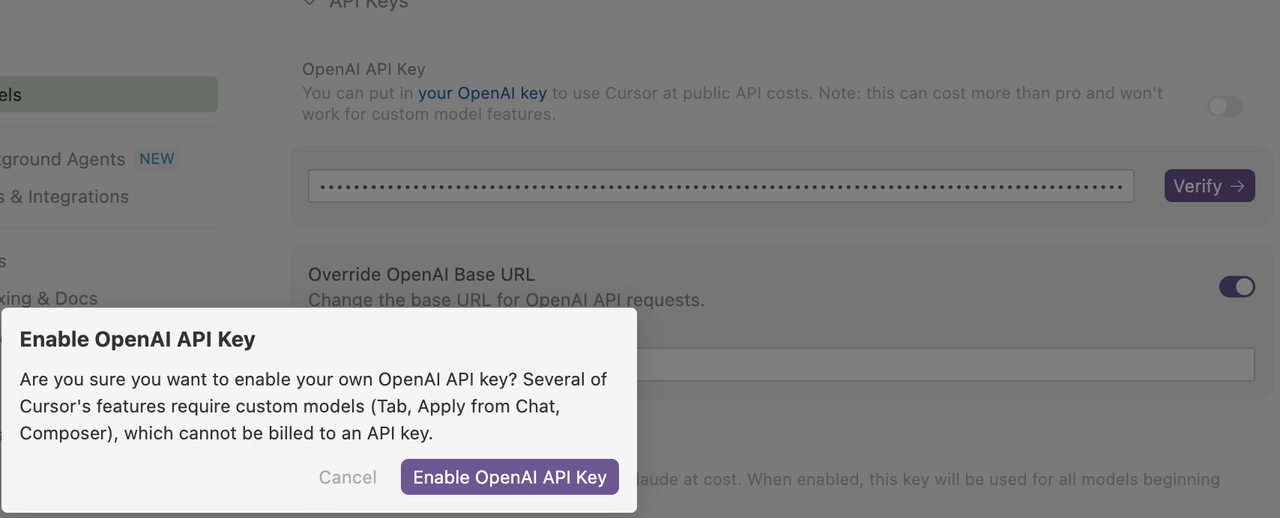
- Click the button on the right side of the “OpenAI API Key” field.
- Click the “Enable OpenAI API Key” button in the pop-up window to complete verification.
- In the Models section, click the “View All Models” button, and then click the “Add Custom Model” button.
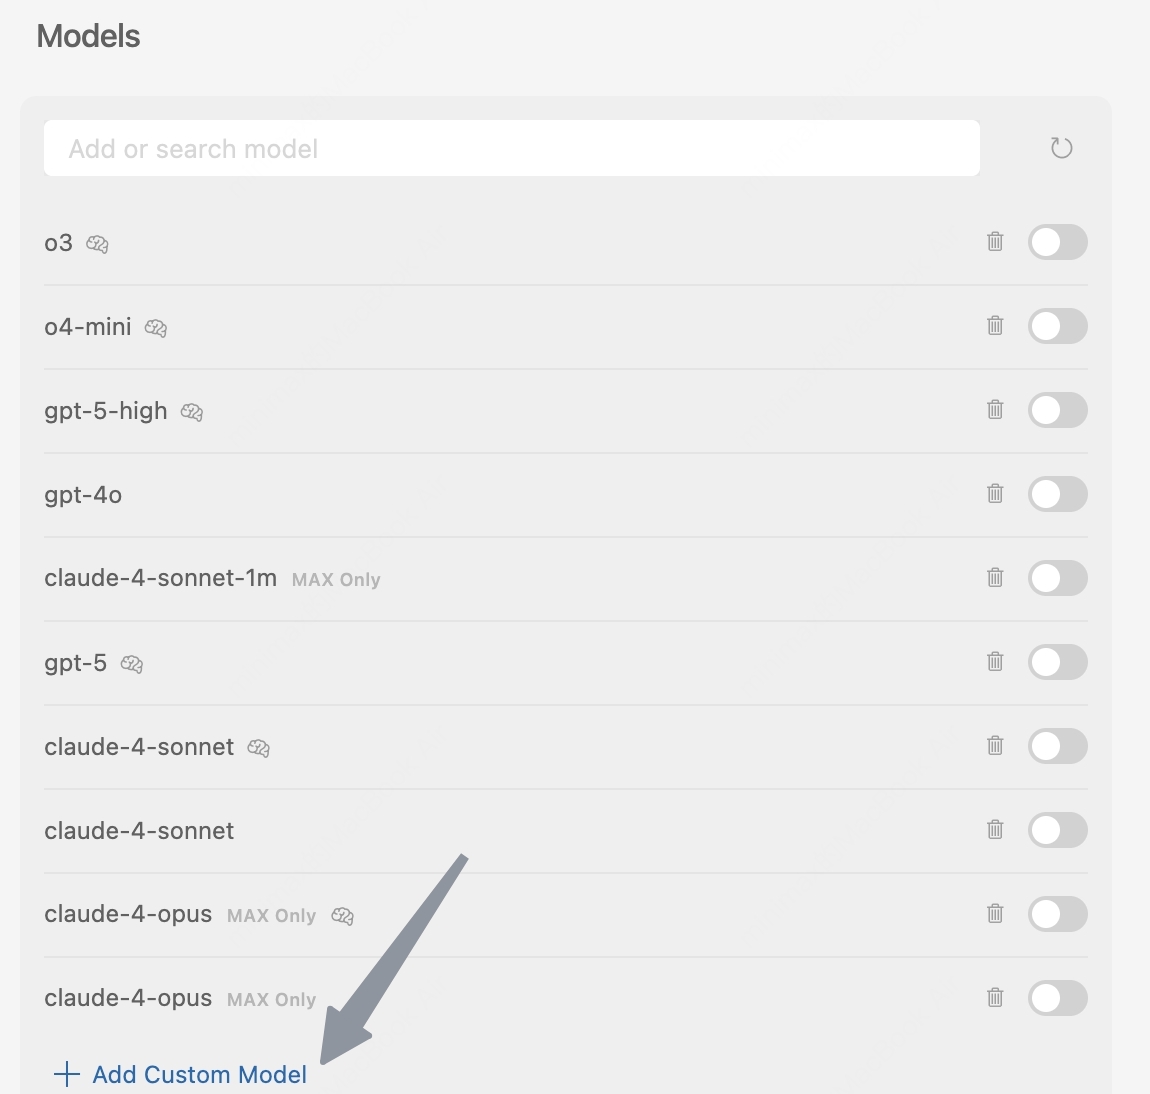
- Enter the model name “MiniMax-M2.1”, then click the “Add” button.

- Enable the newly added “MiniMax-M2.1” model.
- Select the “MiniMax-M2.1” model in the chat panel and start using “MiniMax-M2.1” for development.
Use MiniMax-M2.1 in TRAE
Install and launch TRAE
Download and Install TRAE
Go to TRAE’s website to install TRAE
Complete Initial Setup
Click TRAE’s icon to launch it. The following screen appears at TRAE’s first launch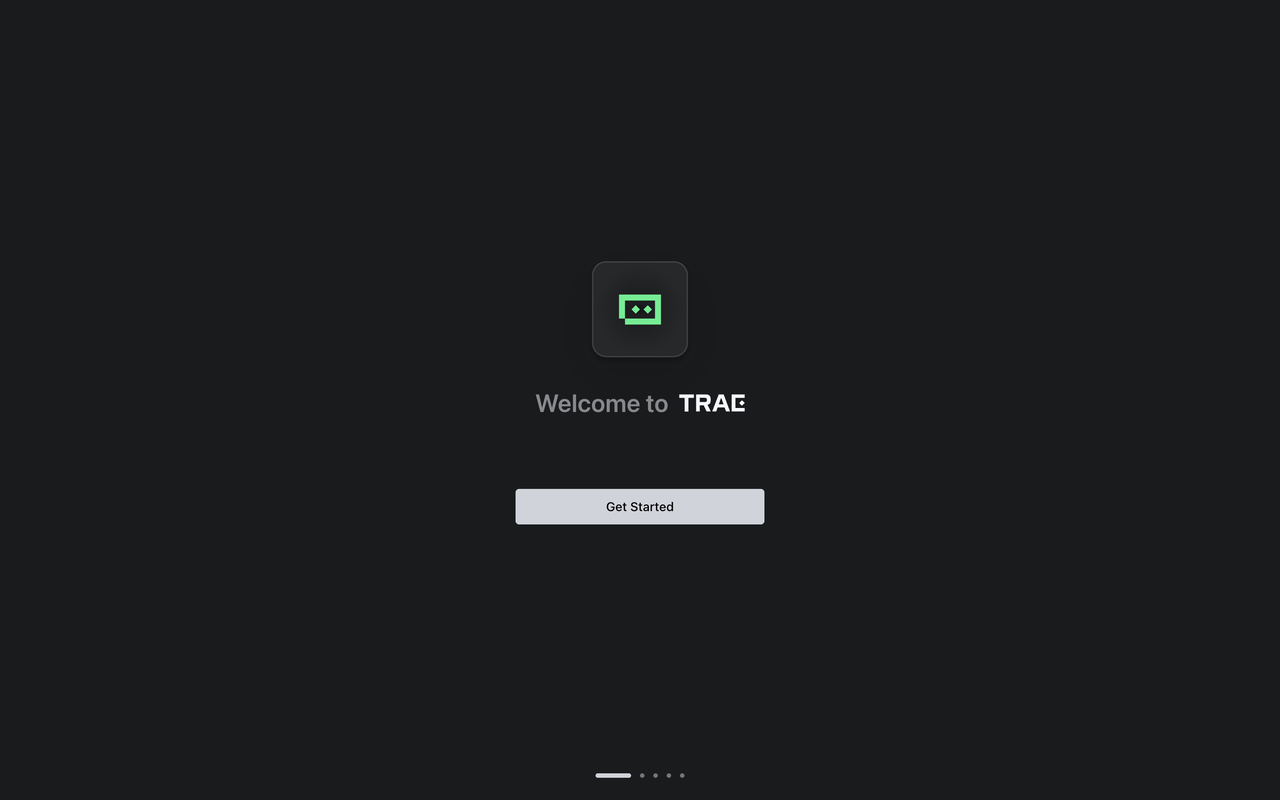

Start Setup
Click the Get Started button, TRAE’s setup beginsFor detailed installation steps, please refer to: Trae Setup Guide
Configure MiniMax API
In TRAE, you can connect to MiniMax M2.1 model using API keys obtained from the MiniMax Developer Platform .Add Model
Click the + Add Model button. The Add Model pop-up appears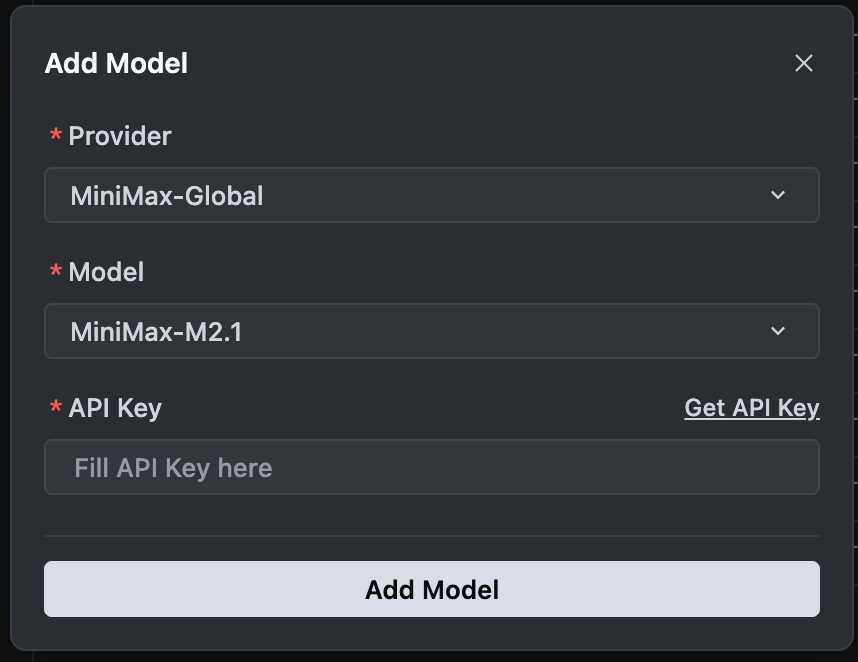 Enter Configuration Details:
 Enter Configuration Details:
- Provider: Select MiniMax-Global
- Model: Select MiniMax-M2.1
Coding Plan API Key cannot select MiniMax-M2.1-lightning. If you want to use it, please enter a Pay-as-you-go API Key
- API Key: Input your MiniMax API Key
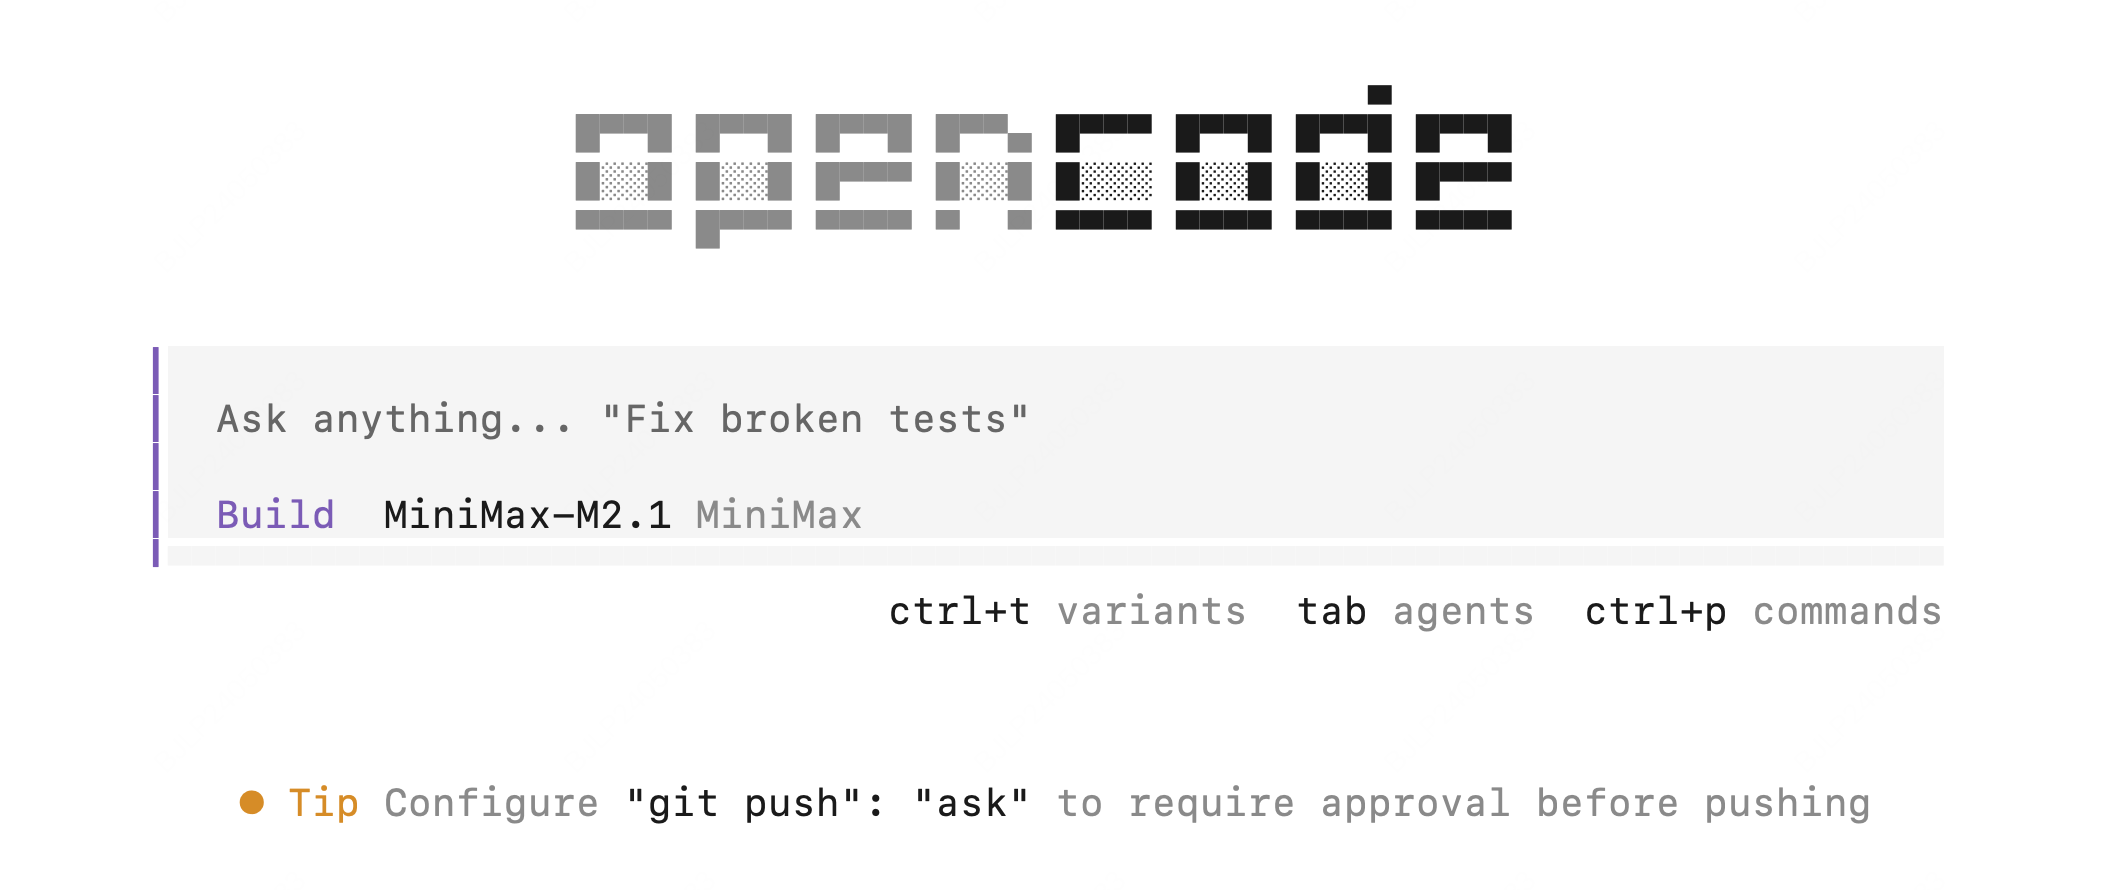
Use MiniMax-M2.1 in OpenCode
Install OpenCode
- Install OpenCode using
curl:
- Or install using
npm:
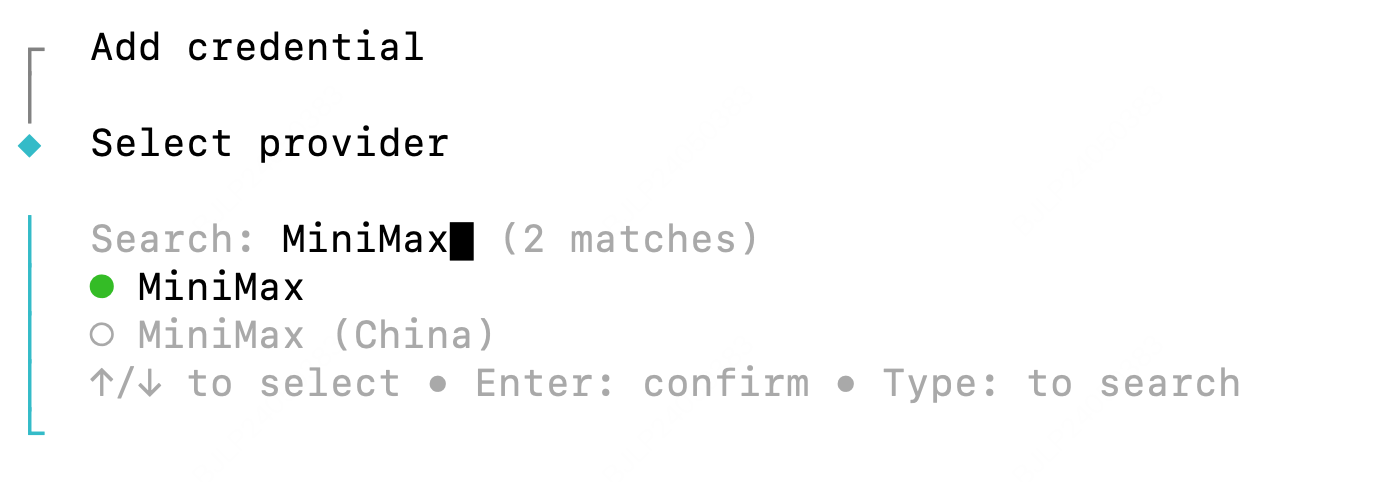
Configure MiniMax API
Alternative Configuration Method:
Edit Configuration File
Edit the OpenCode configuration file located at
~/.config/opencode/opencode.json, and add the following configuration:Use MiniMax-M2.1 in Kilo Code
Install Kilo Code
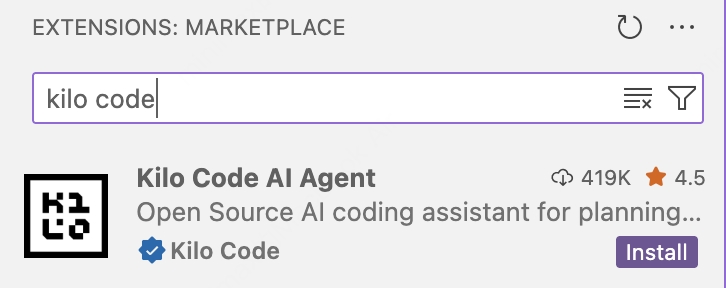
- Open VS Code, click the Extensions icon in the left activity bar, and search for “Kilo Code”.
- Click the “Install” button to add the extension. After installation, you may need to restart VS Code.
Configure MiniMax API
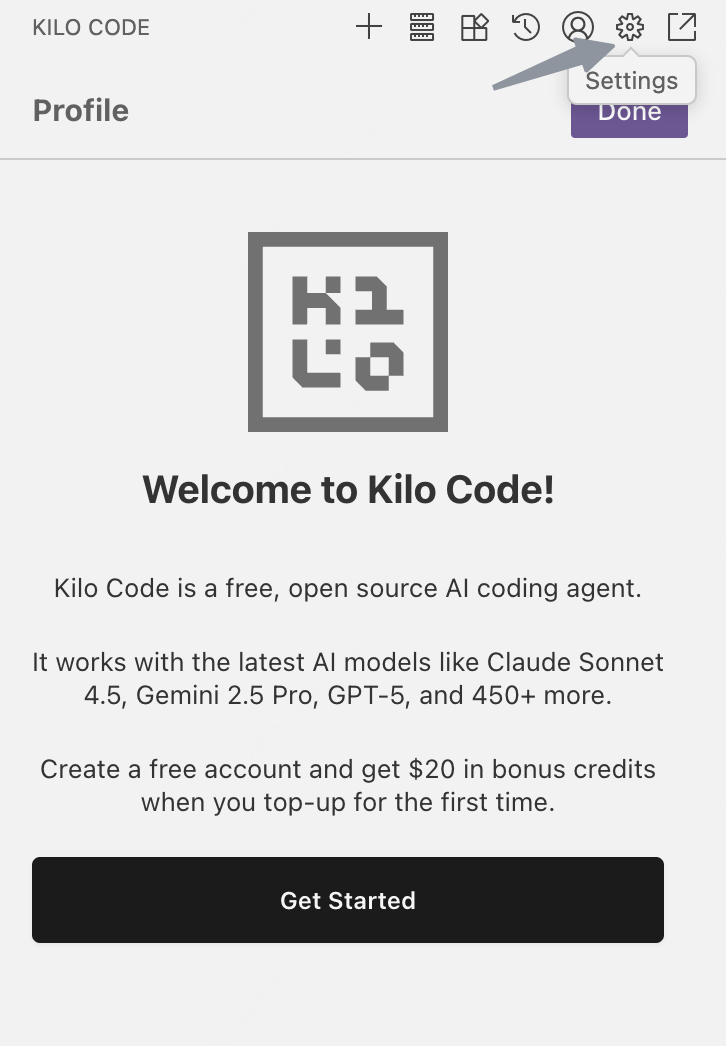
- Click the “Settings” button to enter the configuration page.
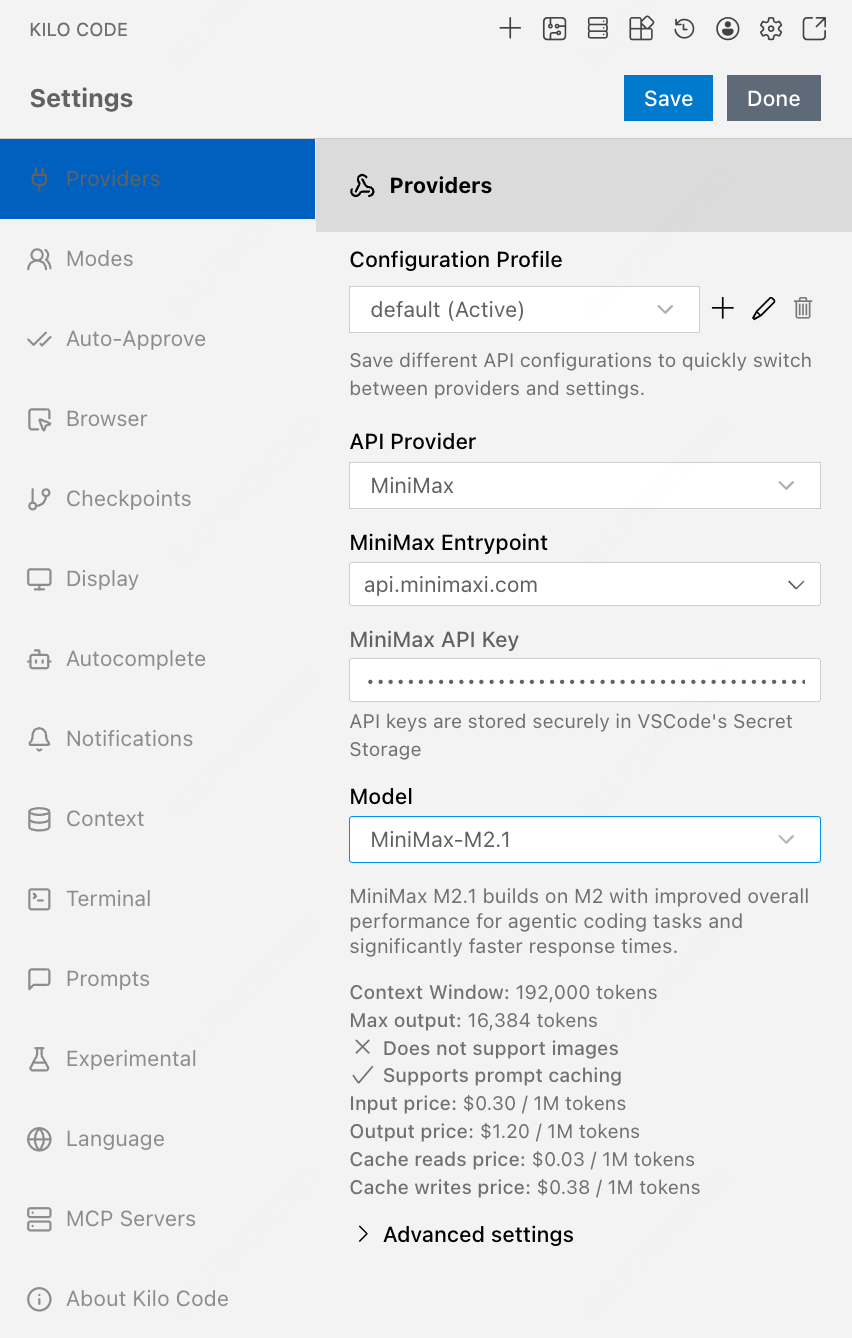
- Under API Provider, select “MiniMax”.
- In MiniMax Entrypoint, select the appropriate endpoint based on your location (for international users, select
api.minimax.io; for users in China, selectapi.minimaxi.com) - In MiniMax API Key, enter your API key obtained from MiniMax Developer Platform (For users in China, visit MiniMax Developer Platform)
- In Model, select MiniMax-M2.1.
- Click “Save” and “Done” buttons in the top-right corner to save the configuration.
- Start using “MiniMax-M2.1”.

Use MiniMax-M2.1 in Cline
Install Cline
- Open VS Code, click the Extensions icon in the left activity bar, and search for “Cline”.
- Click the “Install” button to add the extension. After installation, you may need to restart VS Code.
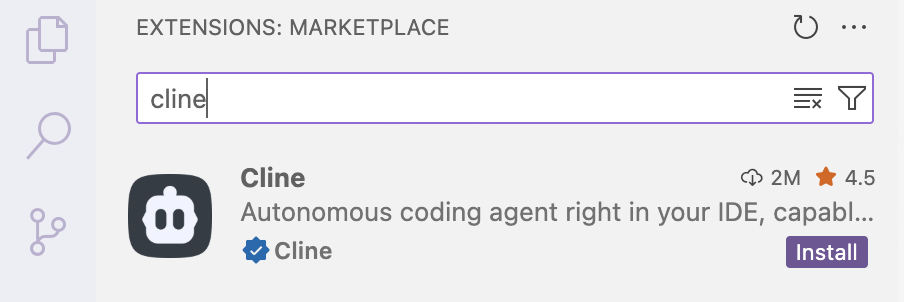
- Once installed, the Cline icon will appear in the left activity bar.
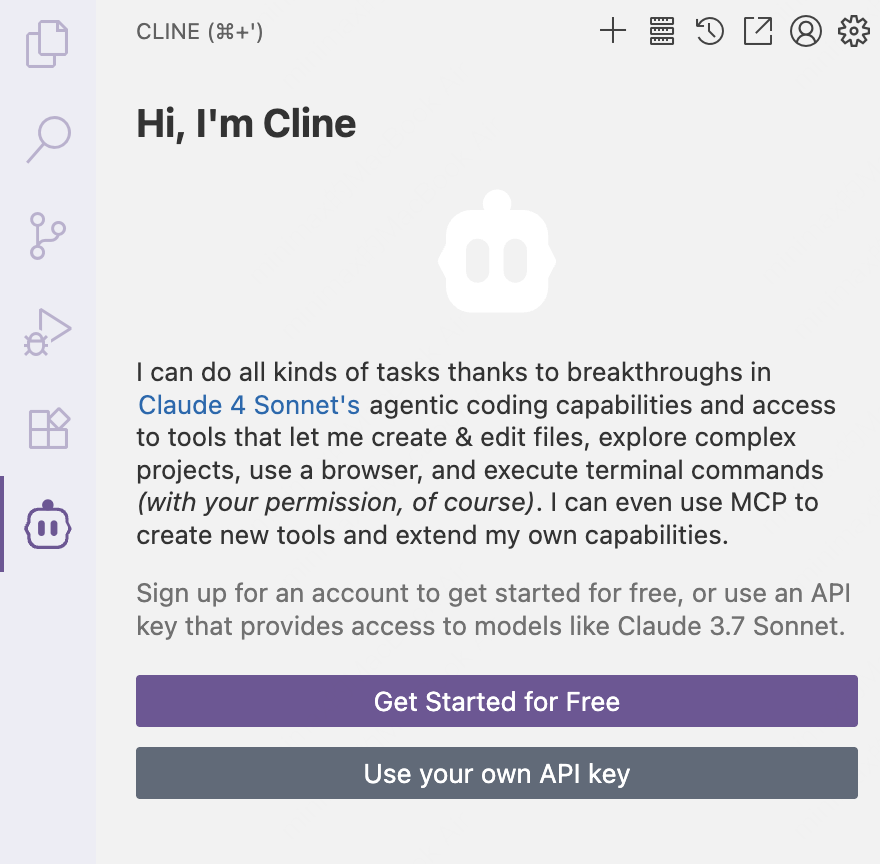
Configure MiniMax API
- Click Use your own API key to open Cline’s configuration page.
- Under API Provider, select MiniMax.
- In MiniMax Entrypoint, select the appropriate endpoint based on your location (for international users, select
api.minimax.io; for users in China, selectapi.minimaxi.com) - In MiniMax API Key, enter your API key.
- Click Done in the top-right corner to save the configuration.
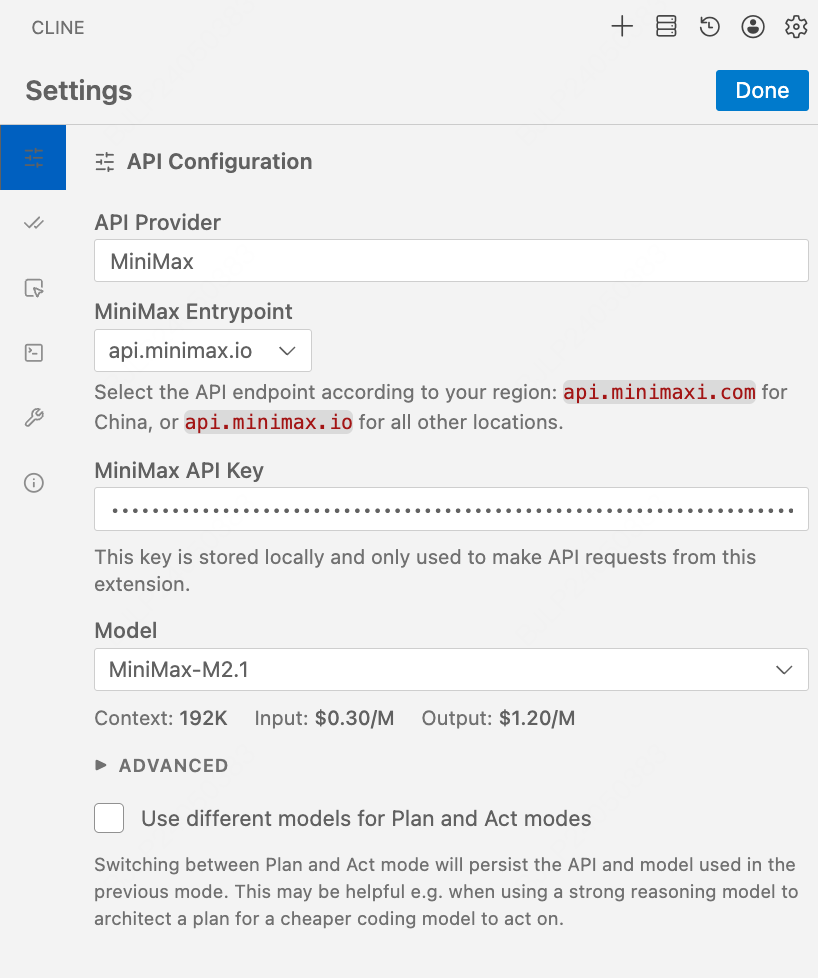
- Enable the “Edit” option box in “Auto-approve” section and start using “MiniMax-M2.1” for development.

Use MiniMax-M2.1 in Roo Code
Install Roo Code
- Open VS Code, click the Extensions icon in the left activity bar, and search for “Roo Code”.
- Click the “Install” button to add the extension. After installation, you may need to restart VS Code.
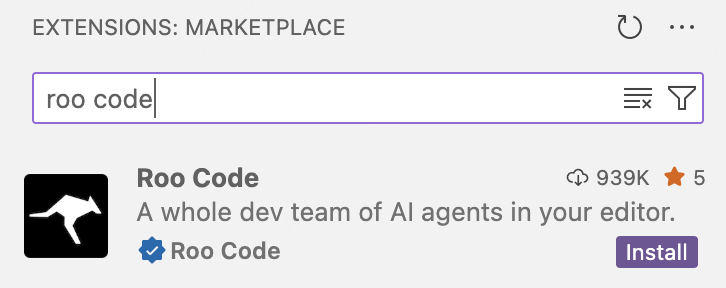
Configure MiniMax API
- Click Settings to go to the configuration page.
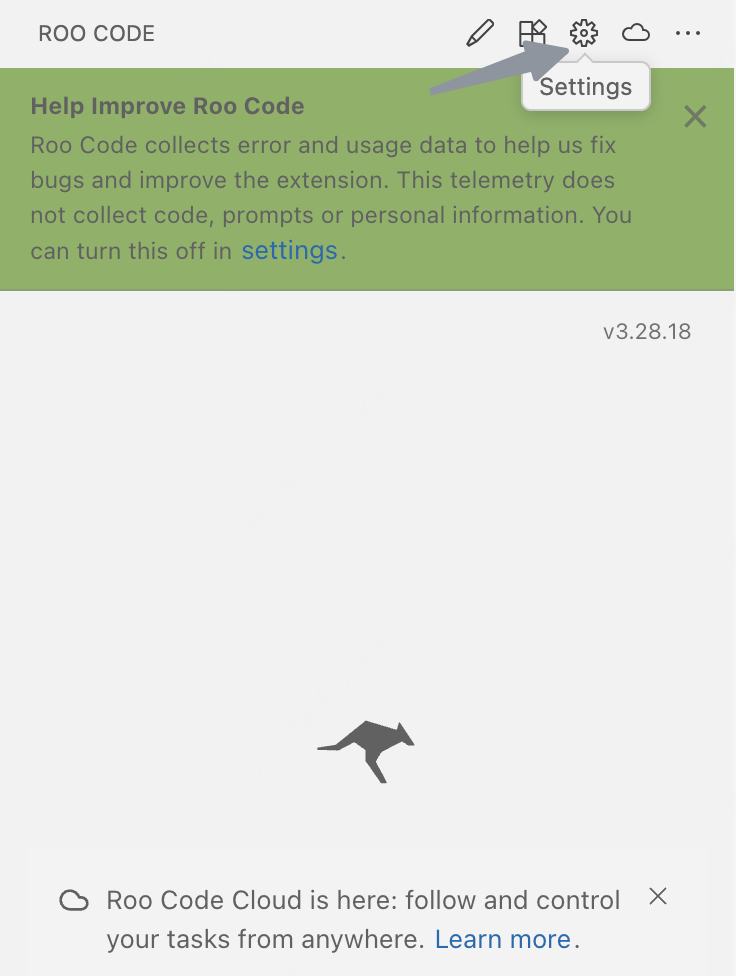
- Under API Provider, select MiniMax.
- In MiniMax Entrypoint, select the appropriate endpoint based on your location (for international users, select
api.minimax.io; for users in China, selectapi.minimaxi.com) - In MiniMax API Key, enter the API key from the MiniMax Developer Platform (For users in China, visit MiniMax Developer Platform).
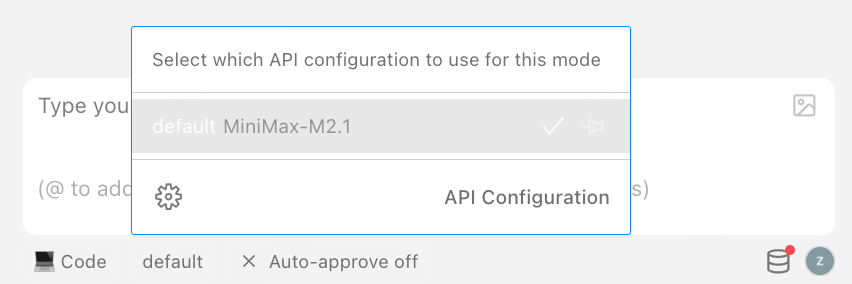
- In Model, select MiniMax-M2.1.
- Click Save and then Done in the top-right corner to save the configuration.

- Start using MiniMax-M2.1 for development.
Use MiniMax-M2.1 in Grok CLI (Not Recommended)
Install Grok CLI
- Install Grok CLI globally using
npm:
Configure MiniMax API
- Configure the URL and API Key through environment variables:
- Set
GROK_BASE_URLbased on your location: for international users, usehttps://api.minimax.io/v1; for users in China, usehttps://api.minimaxi.com/v1 - Replace
<MINIMAX_API_KEY>with your API Key obtained from MiniMax Developer Platform (For users in China, visit MiniMax Developer Platform)
- Start Grok CLI with the specified model “MiniMax-M2.1”:
Use MiniMax-M2.1 in Codex CLI (Not Recommended)
For convenience in integrating the model with Codex CLI, it is recommended to use the model name codex-MiniMax-M2.1. While the model can interact with files through tools like Bash, this approach is not considered best practice for Agent workflows. For optimal Agent development practices, it is recommended to use Claude Code or Cursor tools. The latest version of Codex CLI has compatibility issues and may not work properly. We recommend using version 0.57.0Install Codex CLI
- Install Codex CLI globally using
npm:
Configure MiniMax API
- Edit the Codex configuration file located at
.codex/config.toml, and add the following configuration:
- Set
base_urlbased on your location: for international users, usehttps://api.minimax.io/v1; for users in China, usehttps://api.minimaxi.com/v1
- For security reasons, set the API Key through an environment variable in the current terminal session. Replace
MINIMAX_API_KEYwith your API Key obtained from MiniMax Developer Platform (For users in China, visit MiniMax Developer Platform)
- Start Codex CLI with the specified configuration file:
Use MiniMax-M2.1 in Droid
Install Droid
For Mac/Linux Users:Configure MiniMax API
- Use following command to edit the configuration file located at
~/.factory/config.json.
- The
base_urlshould be set based on your location: for international users, usehttps://api.minimax.io/anthropic; for users in China, usehttps://api.minimaxi.com/anthropic. - Set
<MINIMAX_API_KEY>to the API key obtained from the MiniMax Developer Platform (For users in China, visit MiniMax Developer Platform).
Tips:
- Config
~/.factory/config.json, NOT~/.factory/settings.json - Clear the
ANTHROPIC_AUTH_TOKENenvironment variable, otherwise it will override the API key in.factory/config.jsonand cause errors
- Navigate to your project and start interactive session
- Enter
/model, select the “MiniMax-M2.1” model and use it in Droid.

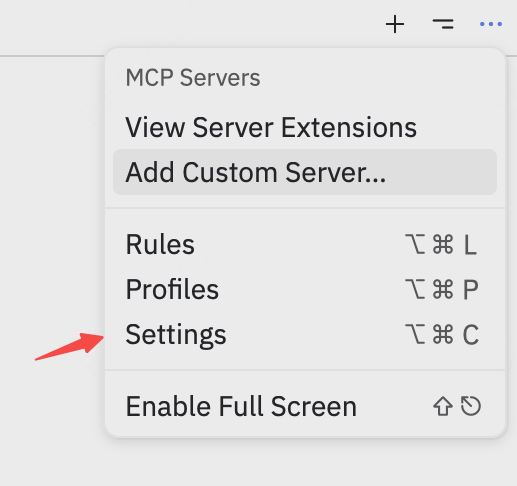
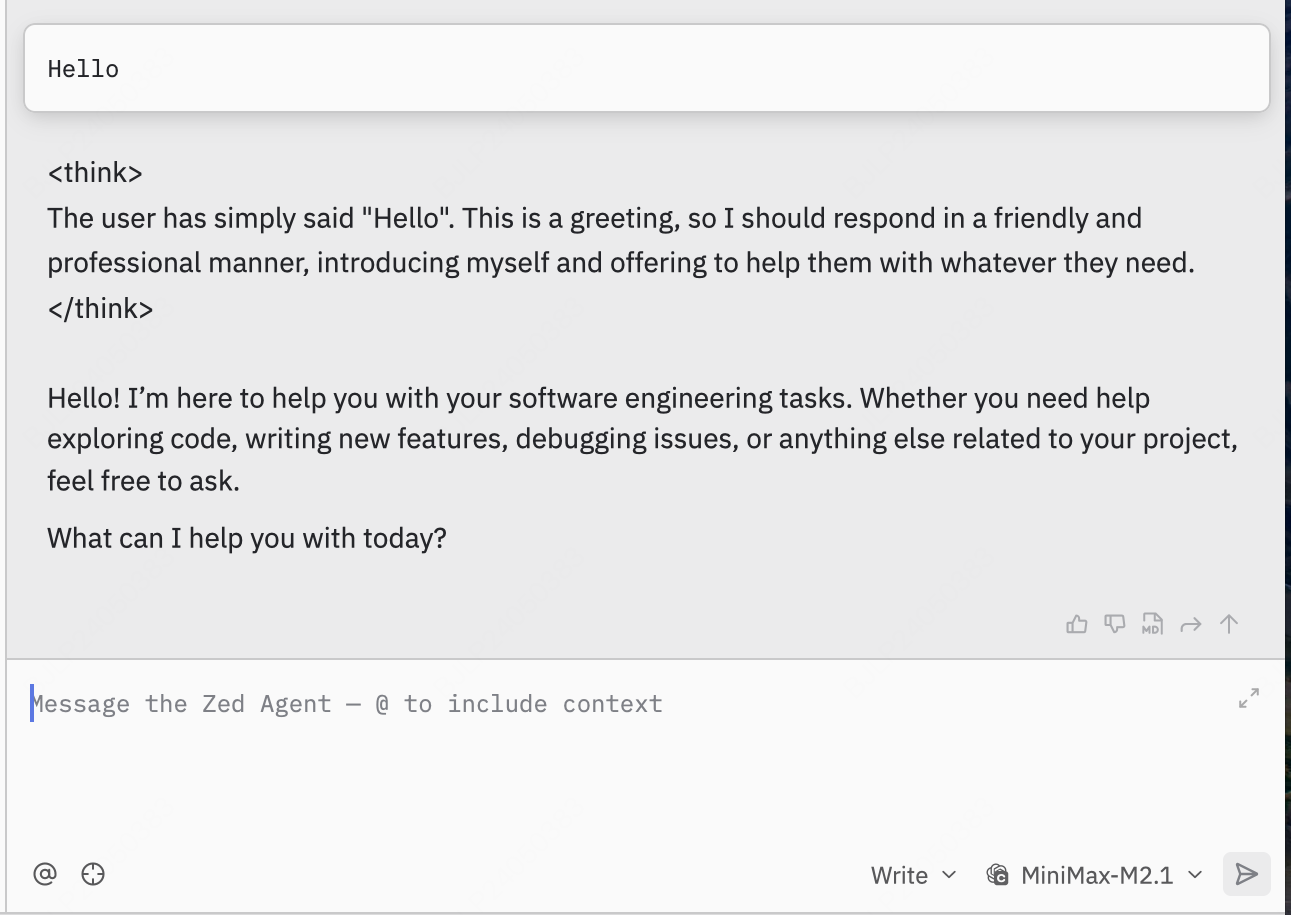
Use MiniMax-M2.1 in Zed
Install Zed
Follow the Zed official documentation to complete the Zed installation and configuration.Configure MiniMax API
Add LLM Provider
Find the LLM Provider section, click +Add Provider and select OpenAI from the dropdown menu: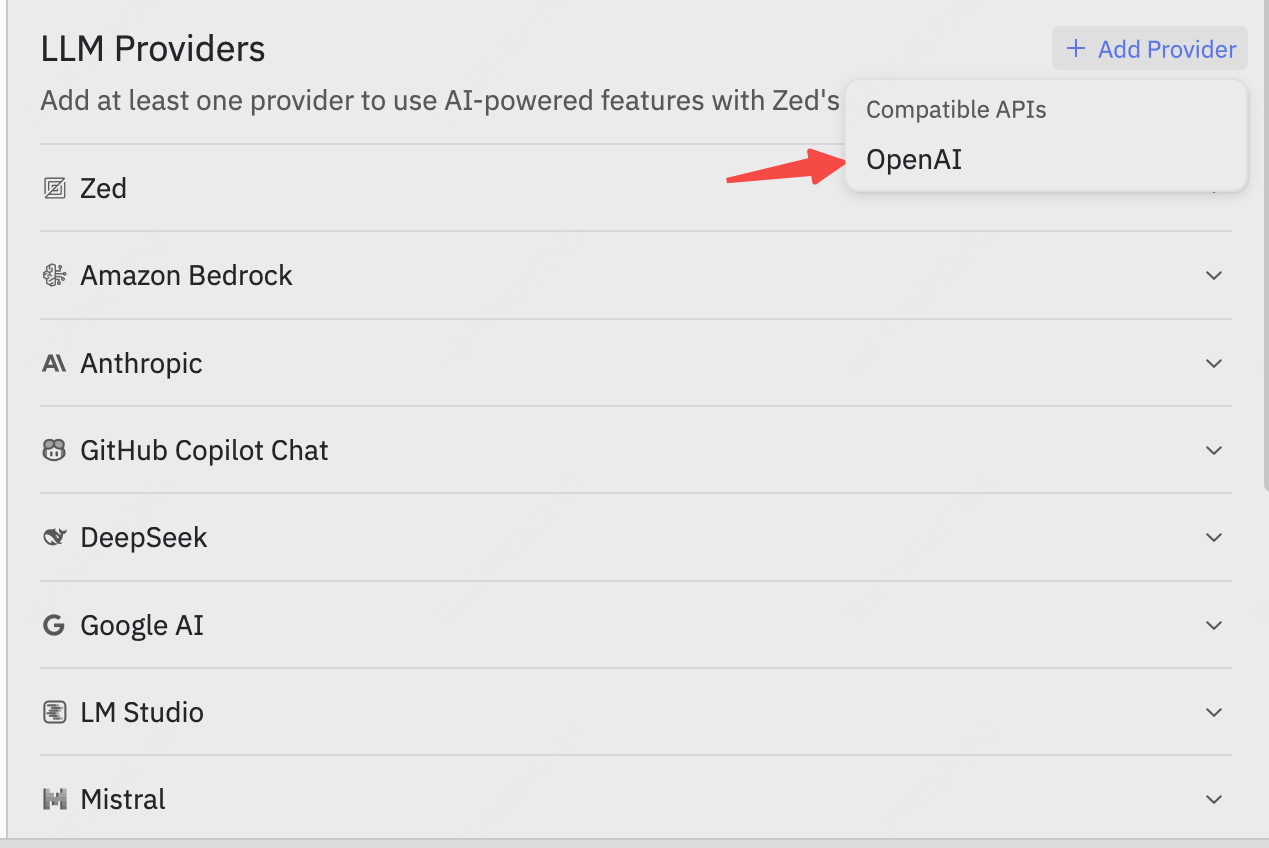

Fill in Configuration
Enter the configuration panel and fill in the following information:
Adjust other configurations according to your needs.Complete configuration reference: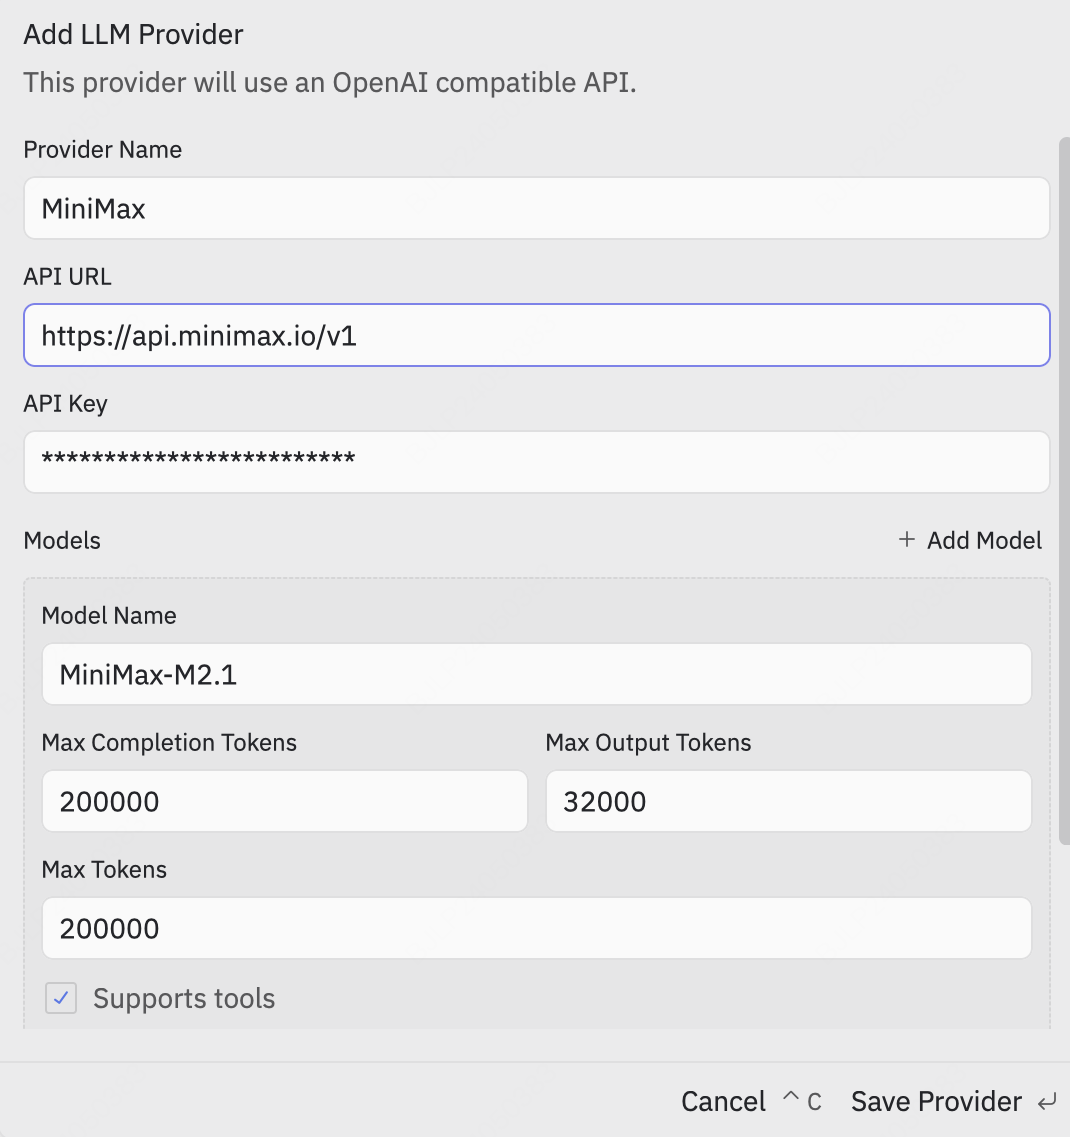
| Configuration | Value |
|---|---|
| Provider Name | Set as needed |
| API URL | https://api.minimax.io/v1 |
| API Key | Your API Key from the platform. Refer to Quick Start for details |
| Model Name | MiniMax-M2.1 |

Save Configuration
Click Save Provider to save. The LLM Provider now includes MiniMax. Click MiniMax, enter your API Key again, and press
Enter to save.Troubleshooting
API Error
- Ensure the API host is set correctly based on your location: for international users, use
https://api.minimax.io; for users in China, usehttps://api.minimaxi.com - Confirm that you have replaced
<MINIMAX_API_KEY>with your API key from MiniMax Developer Platform (For users in China, visit MiniMax Developer Platform) - If you are using Claude Code or Droid, clear the environment variable:
ANTHROPIC_AUTH_TOKEN - If you are using Claude Code in VS Code or Cursor, please make sure to set the model to
MiniMax-M2.1. For more details, see: Using M2.1 in Claude Code for VS Code - Reached the rate limit, please wait and try again later.
Recommended Reading
M2 Tool Use & Interleaved Thinking
AI models can call external functions to extend their capabilities.
Text Generation
Supports text generation via compatible Anthropic API and OpenAI API.
Compatible Anthropic API (Recommended)
Use Anthropic SDK with MiniMax models
Compatible OpenAI API
Use OpenAI SDK with MiniMax models
